Manage Cloudflare DNS records with AI-powered chat assistant

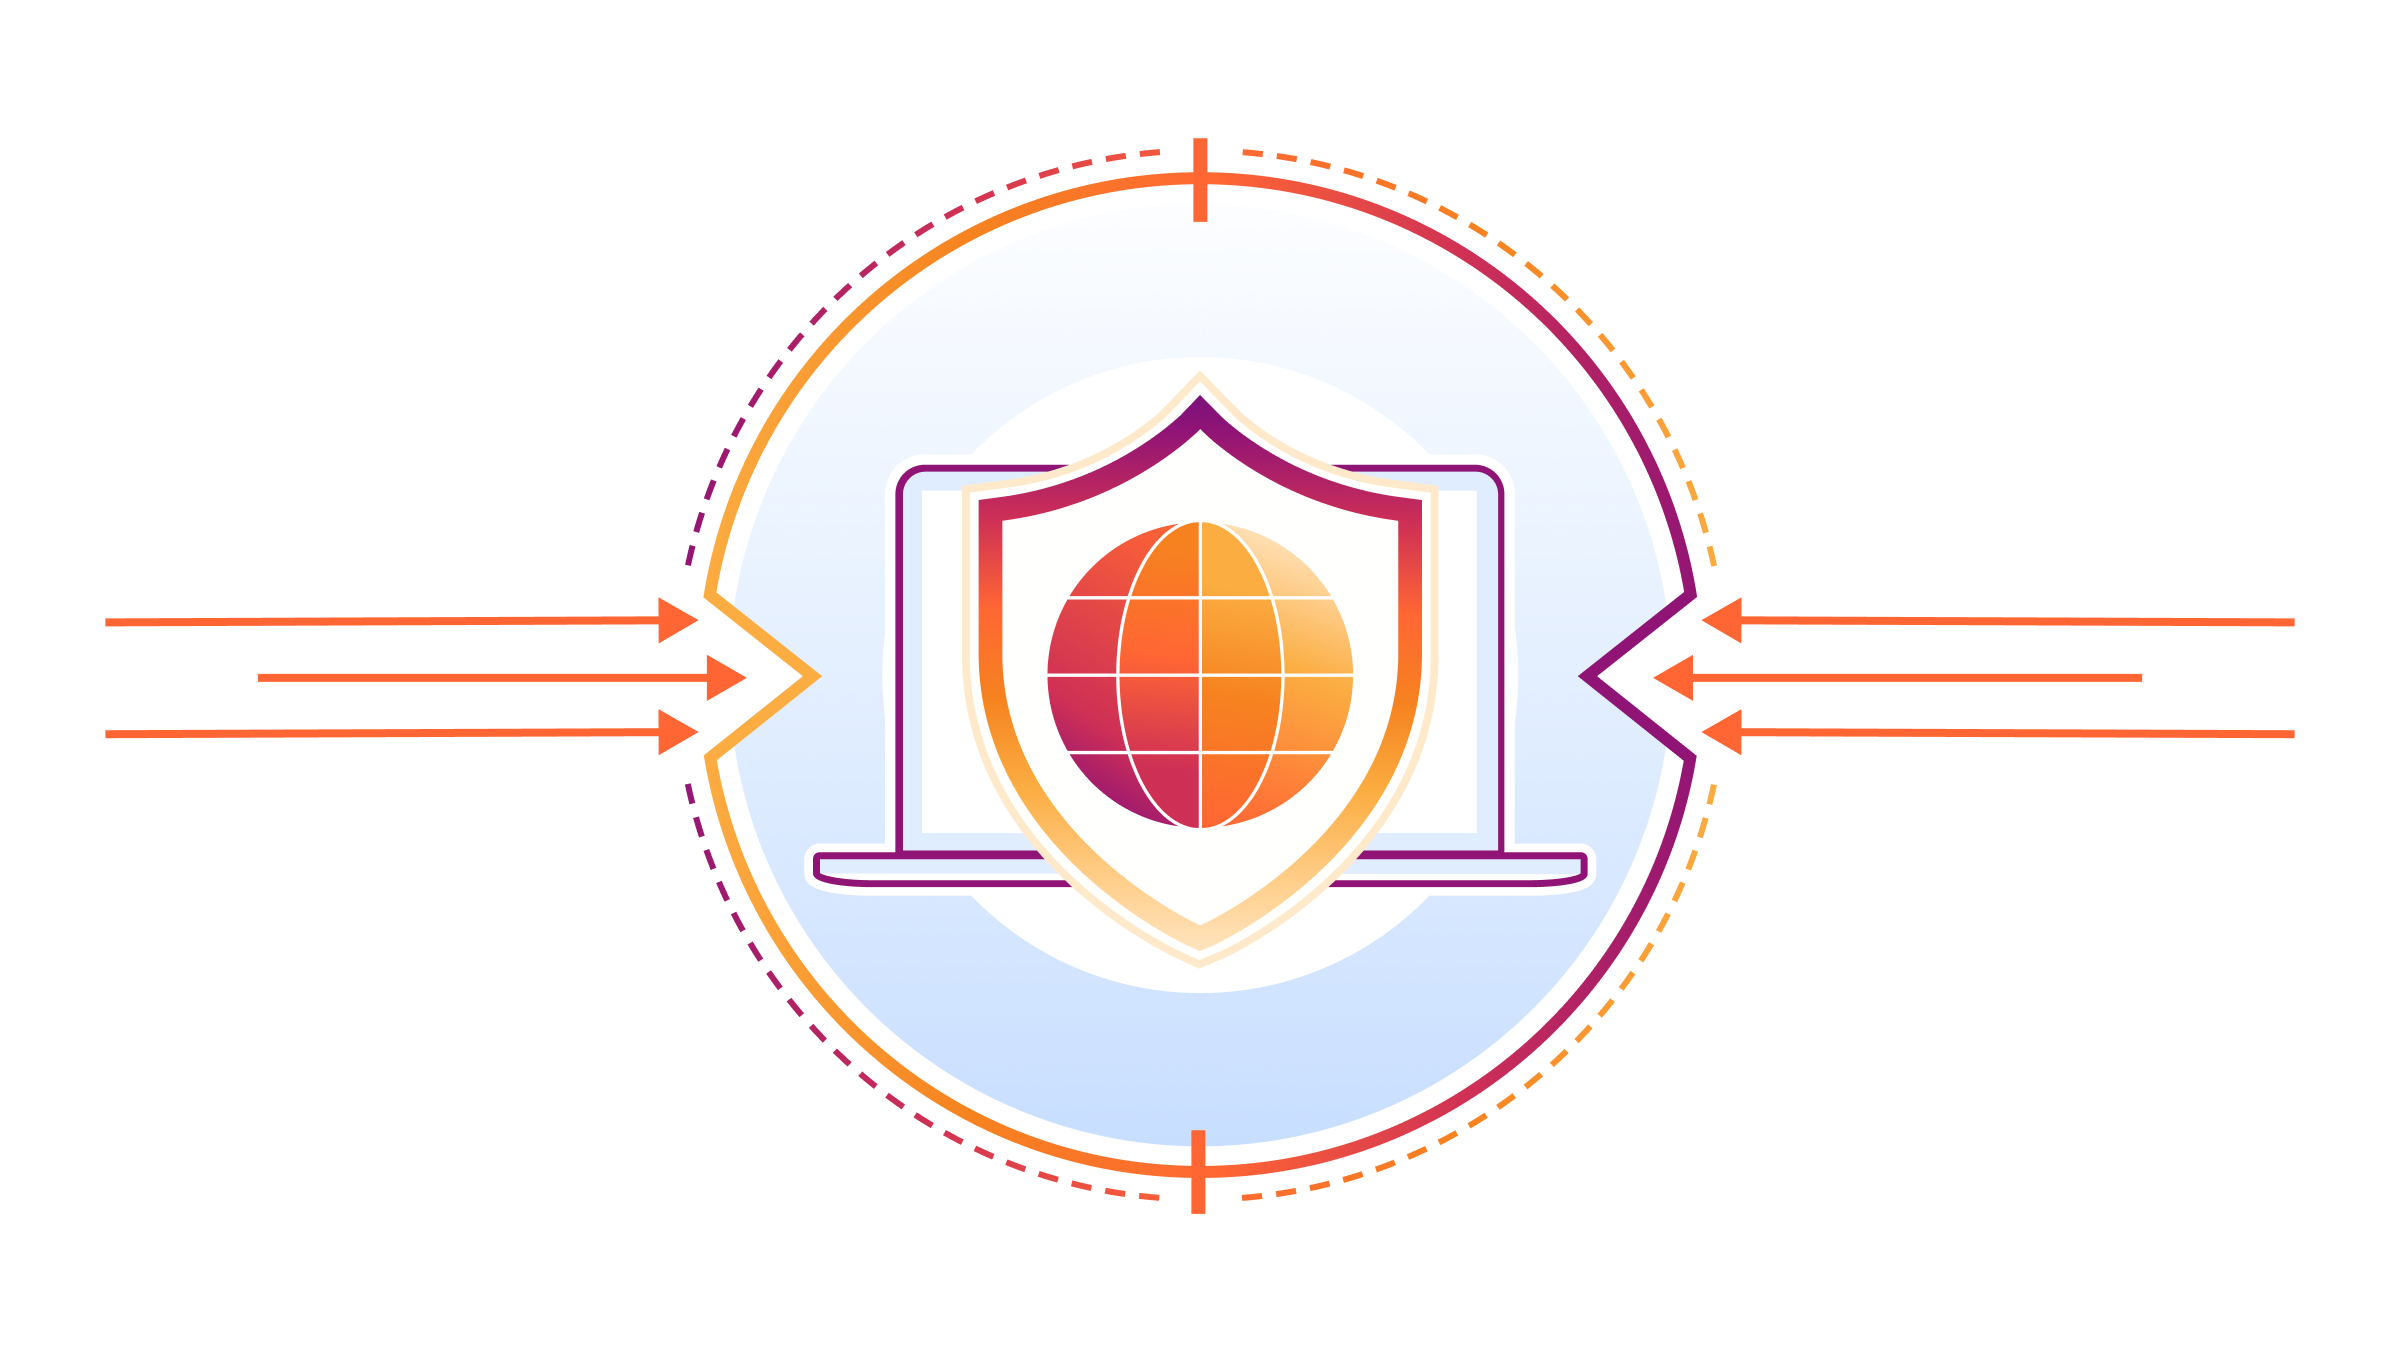
This n8n flow demos basic dev-ops operation task, dns records management.
AI agent with light and basic prompt functions like getter and setter for DNS records.
In this special case, we are managing remote dns server, via API calls - that are handled on CloudFlare platform side.
Use-cases for this flow can be standalone, or you can chain it in your pipe-line to get powerful infrastructure flows for your needs.
How it works
- we created basic agent and gave it a prompt to know about one tool: cf_tool - sub-routine (to itself flow - or it can be separate dedicated one)
- prompt have defined arguments that are needed for passing them when calling agent, for each action specifically
- tool it self have basic if switch that is - based of a action call - calling specific CloudFlare API endpoint (and pass down the args from the tool)
Requirements
For storing and processing of data in this flow you will need:
- CloudFlare.com API key/token - for retrieving your data (https://dash.cloudflare.com/?to=/:account/api-tokens)
- OpenAPI credentials (or any other LLM provider) saved - for agent chat
- (Optional) PostGres table for chat history saving
Official CloudFlare api Documentation
For full details and specifications please use API documentation from: https://developers.cloudflare.com/api/
Linkedin post
Let me know if you found this flow usefull on my Linkedin post > here.
tags: #cloudflare, #dns, #domain
n8n Workflow: AI-Powered Cloudflare DNS Management Chat Assistant
This n8n workflow provides an intelligent chat assistant that allows users to manage Cloudflare DNS records through natural language commands. By integrating an AI agent with a custom n8n workflow tool, it simplifies complex DNS operations, making them accessible via a conversational interface.
What it does
This workflow acts as a central hub for an AI chat assistant, enabling it to understand and execute Cloudflare DNS management tasks. Here's a step-by-step breakdown:
- Listens for Chat Messages: The workflow is triggered whenever a new chat message is received, initiating a conversation with the AI assistant.
- Manages Chat History: It utilizes a Postgres Chat Memory to store and retrieve conversation history, allowing the AI to maintain context throughout the interaction.
- Processes with AI Agent: The received chat message and conversation history are fed into an AI Agent (powered by OpenAI Chat Model). This agent is configured with a custom tool to interact with n8n workflows.
- Executes Cloudflare DNS Operations (via Tool): The AI Agent, based on the user's request, decides whether to call the "Call n8n Workflow Tool". This tool is designed to trigger another n8n workflow (presumably the one handling the actual Cloudflare API calls).
- Handles Workflow Tool Output: The output from the "Call n8n Workflow Tool" is processed.
- Splits and Processes Results: The workflow uses a "Split Out" node to handle multiple results from the tool, if any, ensuring each item is processed individually.
- Responds to User: Although not explicitly shown in the provided JSON (which is a sub-workflow, likely called by the tool), the ultimate goal is for the AI agent to formulate a response back to the user based on the success or failure of the DNS operation.
Prerequisites/Requirements
To use this workflow, you will need:
- n8n Instance: A running n8n instance.
- OpenAI API Key: For the OpenAI Chat Model used by the AI Agent.
- PostgreSQL Database: For the Postgres Chat Memory to store conversation history.
- Cloudflare Account and API Token: The actual Cloudflare DNS management workflow (which this workflow calls as a tool) will require Cloudflare API credentials.
- Another n8n Workflow for Cloudflare API Calls: This workflow acts as the AI interface. You will need a separate n8n workflow that contains the actual HTTP Request nodes to interact with the Cloudflare API for managing DNS records (e.g., listing, creating, updating, deleting records). This separate workflow will be configured as the "Call n8n Workflow Tool."
Setup/Usage
- Import the Workflow: Import the provided JSON into your n8n instance.
- Configure Credentials:
- OpenAI Chat Model: Configure your OpenAI API credentials.
- Postgres Chat Memory: Set up your PostgreSQL database credentials for chat memory.
- Configure the "Call n8n Workflow Tool":
- You will need to create a separate n8n workflow that performs the actual Cloudflare DNS operations (e.g., using HTTP Request nodes to interact with the Cloudflare API).
- In the "Call n8n Workflow Tool" node (node ID 1205), configure it to call your Cloudflare DNS management workflow. Ensure the Cloudflare workflow is set up with an "Execute Workflow Trigger" (node ID 837 in the example, which is likely a placeholder for the target workflow's trigger) to receive commands from this AI agent workflow.
- Activate the Workflow: Once configured, activate the workflow.
- Interact via Chat: The "When chat message received" trigger will listen for incoming messages. You can then interact with the AI assistant through the n8n chat interface or any integrated chat platform.
This workflow provides a powerful foundation for building conversational interfaces for managing external services like Cloudflare, leveraging the capabilities of AI agents and n8n's workflow automation.
Related Templates
Two-way property repair management system with Google Sheets & Drive
This workflow automates the repair request process between tenants and building managers, keeping all updates organized in a single spreadsheet. It is composed of two coordinated workflows, as two separate triggers are required — one for new repair submissions and another for repair updates. A Unique Unit ID that corresponds to individual units is attributed to each request, and timestamps are used to coordinate repair updates with specific requests. General use cases include: Property managers who manage multiple buildings or units. Building owners looking to centralize tenant repair communication. Automation builders who want to learn multi-trigger workflow design in n8n. --- ⚙️ How It Works Workflow 1 – New Repair Requests Behind the Scenes: A tenant fills out a Google Form (“Repair Request Form”), which automatically adds a new row to a linked Google Sheet. Steps: Trigger: Google Sheets rowAdded – runs when a new form entry appears. Extract & Format: Collects all relevant form data (address, unit, urgency, contacts). Generate Unit ID: Creates a standardized identifier (e.g., BUILDING-UNIT) for tracking. Email Notification: Sends the building manager a formatted email summarizing the repair details and including a link to a Repair Update Form (which activates Workflow 2). --- Workflow 2 – Repair Updates Behind the Scenes:\ Triggered when the building manager submits a follow-up form (“Repair Update Form”). Steps: Lookup by UUID: Uses the Unit ID from Workflow 1 to find the existing row in the Google Sheet. Conditional Logic: If photos are uploaded: Saves each image to a Google Drive folder, renames files consistently, and adds URLs to the sheet. If no photos: Skips the upload step and processes textual updates only. Merge & Update: Combines new data with existing repair info in the same spreadsheet row — enabling a full repair history in one place. --- 🧩 Requirements Google Account (for Forms, Sheets, and Drive) Gmail/email node connected for sending notifications n8n credentials configured for Google API access --- ⚡ Setup Instructions (see more detail in workflow) Import both workflows into n8n, then copy one into a second workflow. Change manual trigger in workflow 2 to a n8n Form node. Connect Google credentials to all nodes. Update spreadsheet and folder IDs in the corresponding nodes. Customize email text, sender name, and form links for your organization. Test each workflow with a sample repair request and a repair update submission. --- 🛠️ Customization Ideas Add Slack or Telegram notifications for urgent repairs. Auto-create folders per building or unit for photo uploads. Generate monthly repair summaries using Google Sheets triggers. Add an AI node to create summaries/extract relevant repair data from repair request that include long submissions.
 By Matt@VeraisonLabs
Send WooCommerce cross-sell offers to customers via WhatsApp using Rapiwa API
Who Is This For? This n8n workflow enables automated cross-selling by identifying each WooCommerce customer's most frequently purchased product, finding a related product to recommend, and sending a personalized WhatsApp message using the Rapiwa API. It also verifies whether the user's number is WhatsApp-enabled before sending, and logs both successful and unsuccessful attempts to Google Sheets for tracking. What This Workflow Does Retrieves all paying customers from your WooCommerce store Identifies each customer's most purchased product Finds the latest product in the same category as their most purchased item Cleans and verifies customer phone numbers for WhatsApp compatibility Sends personalized WhatsApp messages with product recommendations Logs all activities to Google Sheets for tracking and analysis Handles both verified and unverified numbers appropriately Key Features Customer Segmentation: Automatically identifies paying customers from your WooCommerce store Product Analysis: Determines each customer's most purchased product Smart Recommendations: Finds the latest products in the same category as customer favorites WhatsApp Integration: Uses Rapiwa API for message delivery Phone Number Validation: Verifies WhatsApp numbers before sending messages Dual Logging System: Tracks both successful and failed message attempts in Google Sheets Rate Limiting: Uses batching and wait nodes to prevent API overload Personalized Messaging: Includes customer name and product details in messages Requirements WooCommerce store with API access Rapiwa account with API access for WhatsApp verification and messaging Google account with Sheets access Customer phone numbers in WooCommerce (stored in billing.phone field) How to Use — Step-by-Step Setup Credentials Setup WooCommerce API: Configure WooCommerce API credentials in n8n (e.g., "WooCommerce (get customer)" and "WooCommerce (get customer data)") Rapiwa Bearer Auth: Create an HTTP Bearer credential with your Rapiwa API token Google Sheets OAuth2: Set up OAuth2 credentials for Google Sheets access Configure Google Sheets Ensure your sheet has the required columns as specified in the Google Sheet Column Structure section Verify Code Nodes Code (get paying_customer): Filters customers to include only those who have made purchases Get most buy product id & Clear Number: Identifies the most purchased product and cleans phone numbers Configure HTTP Request Nodes Get customer data: Verify the WooCommerce API endpoint for retrieving customer orders Get specific product data: Verify the WooCommerce API endpoint for product details Get specific product recommend latest product: Verify the WooCommerce API endpoint for finding latest products by category Check valid WhatsApp number Using Rapiwa: Verify the Rapiwa endpoint for WhatsApp number validation Rapiwa Sender: Verify the Rapiwa endpoint for sending messages Google Sheet Required Columns You’ll need two Google Sheets (or two tabs in one spreadsheet): A Google Sheet formatted like this ➤ sample The workflow uses a Google Sheet with the following columns to track coupon distribution: Both must have the following headers (match exactly): | name | number | email | address1 | price | suk | title | product link | validity | staus | | ---------- | ------------- | ----------------------------------------------- | ----------- | ----- | --- | ---------------------------------- | ------------------------------------------------------------------------------------------------------------------------------------------------------ | ---------- | -------- | | Abdul Mannan | 8801322827799 | contact@spagreen.net | mirpur dohs | 850 | | Sharp Most Demanding Hoodie x Nike | https://yourshopdomain/p-img-nike | verified | sent | | Abdul Mannan | 8801322827799 | contact@spagreen.net | mirpur dohs | 850 | | Sharp Most Demanding Hoodie x Nike | https://yourshopdomain/p-img-nike | unverified | not sent | | Abdul Mannan | 8801322827799 | contact@spagreen.net | mirpur dohs | 850 | | Sharp Most Demanding Hoodie x Nike | https://yourshopdomain/p-img-nike | verified | sent | Important Notes Phone Number Format: The workflow cleans phone numbers by removing all non-digit characters. Ensure your WooCommerce phone numbers are in a compatible format. API Rate Limits: Rapiwa and WooCommerce APIs have rate limits. Adjust batch sizes and wait times accordingly. Data Privacy: Ensure compliance with data protection regulations when sending marketing messages. Error Handling: The workflow logs unverified numbers but doesn't have extensive error handling. Consider adding error notifications for failed API calls. Product Availability: The workflow recommends the latest product in a category, but doesn't check if it's in stock. Consider adding stock status verification. Testing: Always test with a small batch before running the workflow on your entire customer list. Useful Links Dashboard: https://app.rapiwa.com Official Website: https://rapiwa.com Documentation: https://docs.rapiwa.com Support & Help WhatsApp: Chat on WhatsApp Discord: SpaGreen Community Facebook Group: SpaGreen Support Website: https://spagreen.net Developer Portfolio: Codecanyon SpaGreen
 By Rapiwa
Track SDK documentation drift with GitHub, Notion, Google Sheets, and Slack
📊 Description Automatically track SDK releases from GitHub, compare documentation freshness in Notion, and send Slack alerts when docs lag behind. This workflow ensures documentation stays in sync with releases, improves visibility, and reduces version drift across teams. 🚀📚💬 What This Template Does Step 1: Listens to GitHub repository events to detect new SDK releases. 🧩 Step 2: Fetches release metadata including version, tag, and publish date. 📦 Step 3: Logs release data into Google Sheets for record-keeping and analysis. 📊 Step 4: Retrieves FAQ or documentation data from Notion. 📚 Step 5: Merges GitHub and Notion data to calculate documentation drift. 🔍 Step 6: Flags SDKs whose documentation is over 30 days out of date. ⚠️ Step 7: Sends detailed Slack alerts to notify responsible teams. 🔔 Key Benefits ✅ Keeps SDK documentation aligned with product releases ✅ Prevents outdated information from reaching users ✅ Provides centralized release tracking in Google Sheets ✅ Sends real-time Slack alerts for overdue updates ✅ Strengthens DevRel and developer experience operations Features GitHub release trigger for real-time monitoring Google Sheets logging for tracking and auditing Notion database integration for documentation comparison Automated drift calculation (days since last update) Slack notifications for overdue documentation Requirements GitHub OAuth2 credentials Notion API credentials Google Sheets OAuth2 credentials Slack Bot token with chat:write permissions Target Audience Developer Relations (DevRel) and SDK engineering teams Product documentation and technical writing teams Project managers tracking SDK and doc release parity Step-by-Step Setup Instructions Connect your GitHub account and select your SDK repository. Replace YOURGOOGLESHEETID and YOURSHEET_GID with your tracking spreadsheet. Add your Notion FAQ database ID. Configure your Slack channel ID for alerts. Run once manually to validate setup, then enable automation.
 By Rahul Joshi